|
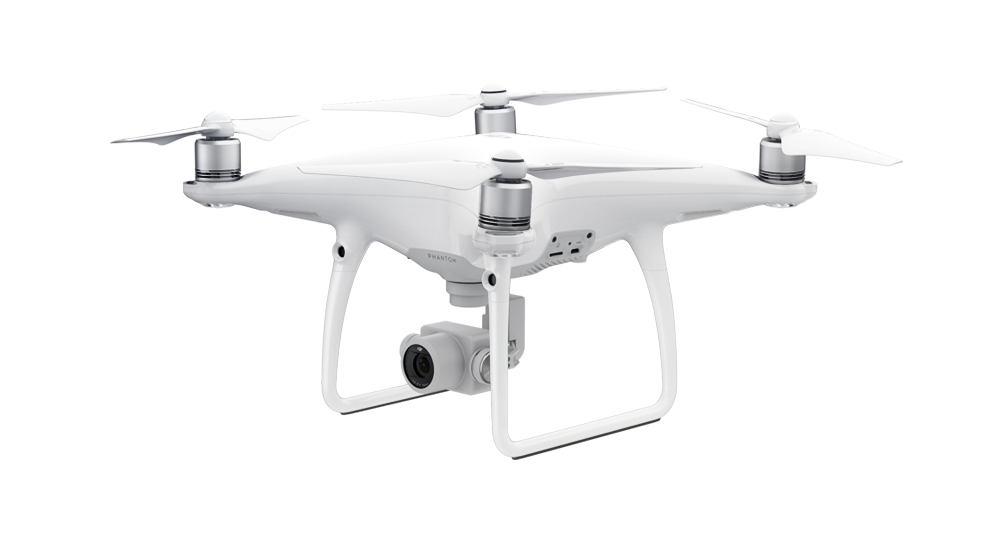
Hey guys, as some of you may know I am a massive fan of aerial photography and today I wanted to talk about some of the best drones suited for shooting some professional photographs. I myself have a DJI Phantom 4 Pro, however there are numerous other models out there that deliver some stunning aerial photographs that can be used professionally. If anyone is interested, they can read this full break down of the best drones for professional photography, I highly recommend you go check it out!. Anyway, shall we get to it? DJI Phantom 4 Pro
Luckily though, the Phantom 4 is perfect for beginners and I'll tell you why. Firstly it has an automatic take off and landing button, which means I don't have to do this myself! As well as this it has what is called a return to home function. When the drone takes off it stores its take off location, when the button is pushed, the drone will autonomously return to where it took off. From here you can just press the auto-landing button and it'll land itself nicely. I could go on for days about this drone! Honestly, it has to be the best drone for professional photography! Anyway, getting off topic. The drone also has 5 obstacle avoidance sensors which are able to detect an object up to 15m away. If you fly to close to the object the drone will break automatically, pretty nifty aye? It also has this thing called vision positioning system. The drone has 2 sensors located underneath its body which are able to register the ground and keep it hovering in that exact location. As well as this it has GPS positioning which helps do the same thing, if you are flying low to the ground or indoors, where you may lose GPS signal, the VPS will have you covered!
Most pilots believe seeing the transmitter in the shot kinda ruins it and I can see where they’re coming from. It loses the whole Hollywood epic feel and makes it seem less cinematic.
As well as this, there is point of interest mode. This is where the drone will circle a location and keep the camera aimed at the middle point the entire time. This is also called orbit mode on a few other drones. I love this as it just looks amazing and extremely cinematic. The others are waypoint, draw and tap to fly, but I haven’t gotten a chance to use these yet. Well, thanks for reading why I think the Phantom 4 is the best drone for professional photography. Keep an eye out for most posts coming your way soon!!
0 Comments
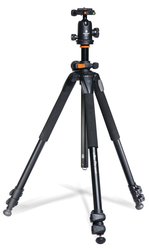
For those of you who aren't familiar with the 'Rule of Thirds', I highly recommend you check out this video below.I did not make it, but it is well done and explains exactly what the rule of thirds is and why you should use it! A must watch for beginner photographers! Any self-respecting photographer will tell you the importance of a tripod, they make your images a lot clearer and prevent any shake distortion in your photographs. It’s safe to say that if you want to take photography seriously, along the way you’re going to have to pick up a tripod. It still amazes me how much the price can vary for a tripod, ranging from as little as $20 to hundreds and hundreds of dollars. Of course, you get what you pay for and cheap tripods tend to be bad quality, extremely light (means the camera can wobble) and over all just not that good. If like you you’re a photographer on a budget, yet still want the highest quality product possible; this list should help you out Vanguard Alta Pro 263AB 100
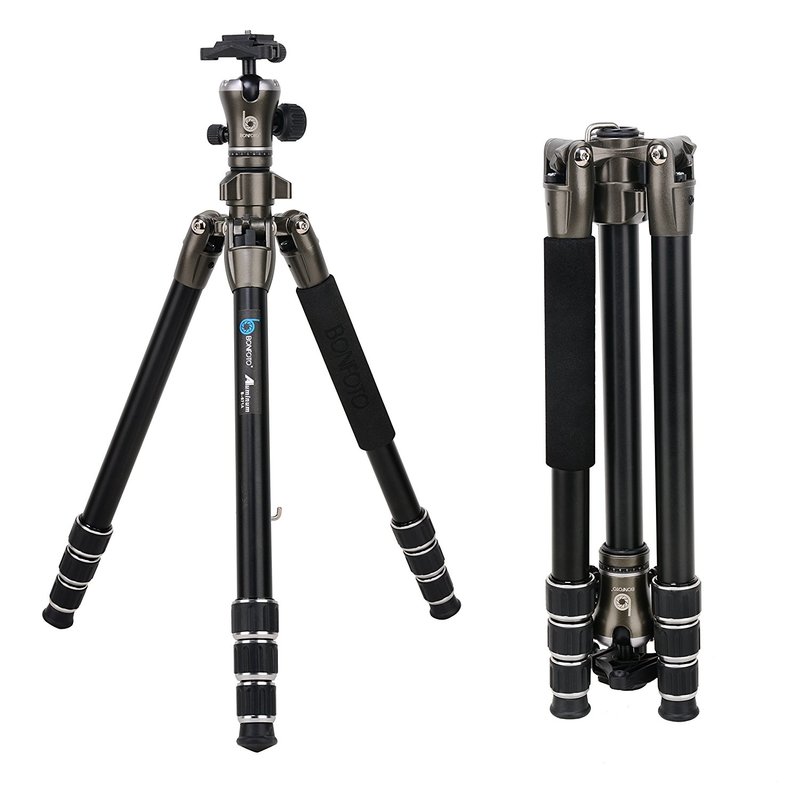
Vanguard has dubbed this “the most versatile tripod in the world” and they may well be right. Perfect for all types of photography, the Vanguard is many professionals dream come true. BONFOTO B671A
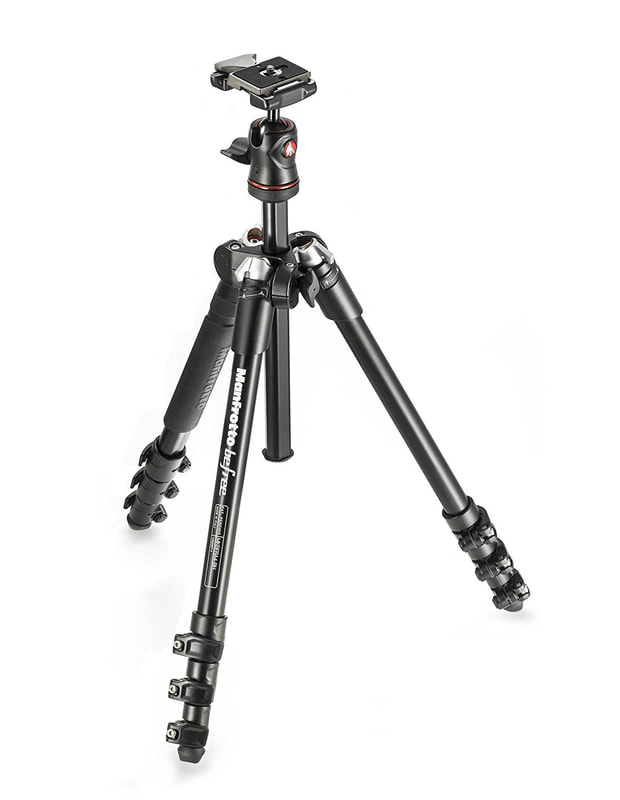
Manfrotto BeFree
Well that’s my top 3 photography tripods, I could go on about more but in my opinion those are the best affordable tripods currently out there and I wouldn’t want to recommend anything I don use myself!
Thanks for reading guys :) Gabby Great Tutorial For Beginners Hey guys, I came across this video today and YouTube and had to share it with you all! This videos for beginners really, so sorry if you're ahead of this! 2017 Best Camera Backpacks How you transport your camera equipment is a very important decision, for it is all the protection your equipment has whilst you’re on the move. Finding a camera bag that offers a lot of protection, storage and yet is easy to carry can sometimes be a tough decision. That’s why I have compiled this list of the best camera backpacks and cases of 2017, to save you the time of scrolling though hundreds of pages and hours of research. Keep in mind that the DSLR sizes that these backpacks can fit will vary, so always double check your camera with the backpacks specifications. 1. Manfrotto Essential DSLR Camera Backpack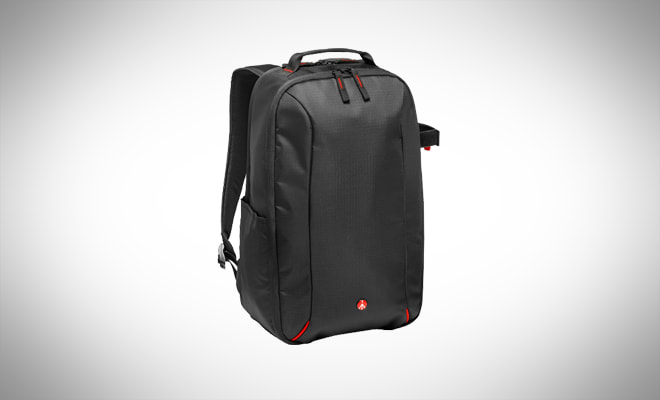 The first item on our list is the Manfrotto Essential backpack. For those of you who are unfamiliar with Manfrotto, they’re one of the world leading manufacturers of camera accessories and are renowned for their high quality products. The Essential DSLR backpack is no exception to this and offers ample storage and protection for both your camera and accessories. You’re able to fit a DSLR, a charger and a number of lenses inside the backpack. 2. Canon Deluxe Backpack 200 EG 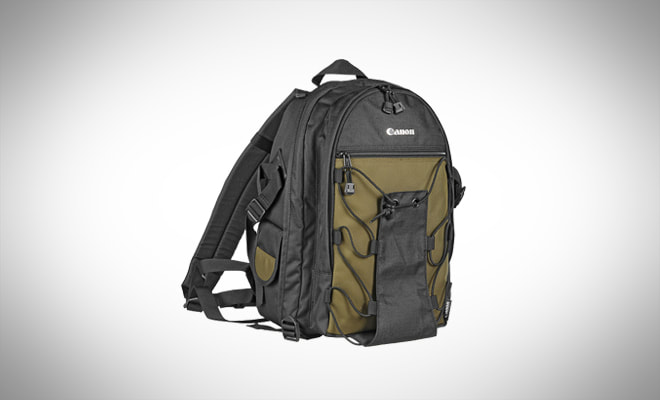 This is an extremely affordable option made by Canon, so you know the quality is going to be brilliant. The back itself is designed for Canon DSLR cameras however will fit most small to medium sized cameras. The material is coated in a water repellent chemical, which means your equipment will be safe if you get caught out in the rain. As well as this the bag features an external tripod hook that allows you to attach what ever tripod you have to the exterior of the backpack. 3. Case Logic DCB-309 Camera Backpack 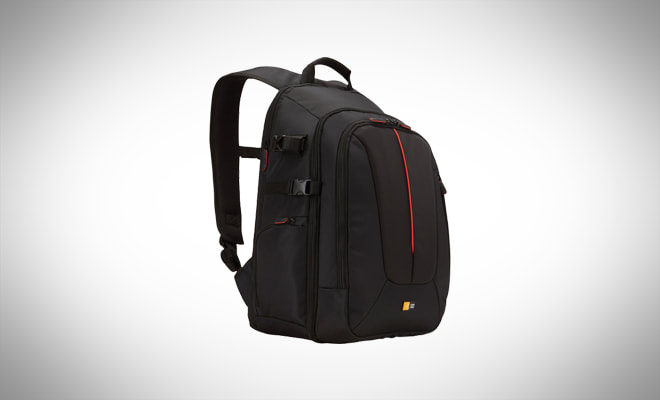 Everything you could want from a DSLR backpack, the Case Logic delivers. It is both affordable yet high quality and the Velcro interior allows the inside to be customisable. Inside you’re able to fit a DSLR and lens and up to 3 spare lenses. There are a number of pockets located around the backpack that can be used to store other accessories such as SD cards and chargers. The Case Logic comes with an all weather protection pouch which can be put around the backpack if the weather takes a turn for the worse. 4. Manfrotto Street Camera Backpack 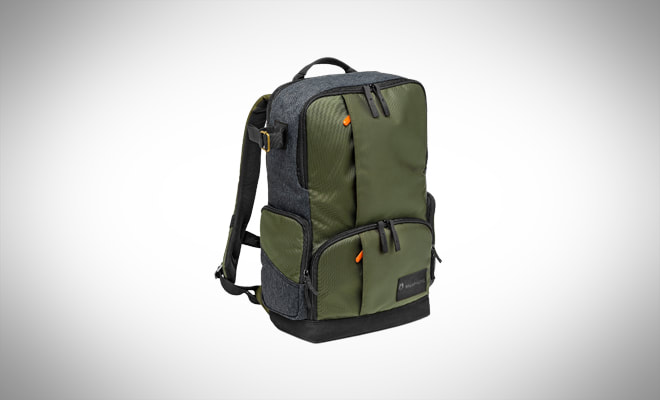 Moving onto another Manfrotto case, the Street Camera & Laptop Backpack. Inside the backpack you’re able to fit a DSLR, 2 lenses and a Laptop. Inside the external pockets you’re also able to store other accessories such as SD cards and ND filters. As is common with a lot of Manfrotto backpacks, the Street Case features an external tripod hook. The material is also water resistant, however if you get caught in a heavy down pour, I would recommend finding shelter ASAP.
That’s it for today guys, thanks for stopping by and having a read of my article on the best DSLR backapcks. Hey guys, so for my first post I thought I would talk a little about some top photography tips I've learned along my way. Some are more common knowledge, however others I feel are little golden nuggets of information that can only be gained through time and experience. 1. Use The Rule Of Thirds On your camera, make sure you have the thirds grid displaying on your camera's screen, a lot of photographs are taking with the focus point located in the center. For a more aesthetically pleasing image, try lining up the focus of the photo with one of the lines on the grid. This will make your photograph a lot easier on the eye and look a lot more professionally composed. 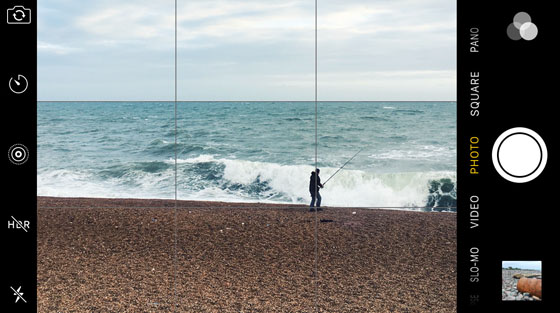 2. Use a Tripod In order to avoid any camera shake, which can seriously ruin an image, it's good practice to use a tripod. This will keep the camera more securely in position and prevent it from shaking around. Try and invest in a good quality tripod, as cheaper ones tend to be a lot lighter and easily blown around in the wind. This isn't ideal at all if you're planning on shooting some long exposures. 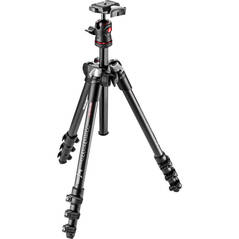 3. Make Use Of Depth-of-Field When shooting landscape photography, sometimes it can be hard to gain an understanding of scale from a photography, which results in feeling a bit disconnected from what it is portraying. To counter this, add a sense of depth to your photograph. This can be achieved by having an object in the front of the frame and using a wide angle lens. This allows us to gain a sense of scale of the scene and throws us more into the photograph.  4. Not Outdoors? No flash. Just don't bother using a flash indoors unless your shooting something like a sporting event. The unnatural lighting just makes the photograph look a lot more amateur and uneasy on the eye. It also makes the skin look weirdly bright compared to other areas of the frame and often results in ridiculous red-eye. Of course this can be edited in post, but why give yourself the bother?  Exposure Guide 5. Practice Ok, this is kind of an obvious one but still, I put it in here because it's important. Practice as much as you can, I literally don't go anywhere without my camera as I know that just around the corner could be a perfect shot. We're all constantly learning and by practicing as often as you can, you're only going to improve.  6. Don't blow your ISO Just because it's nighttime or whatever please don't throw your ISO up dramatically high, this will only create noise and often ruin a photography. Instead increase your aparture and bring down your shutter speed to let in as much light as possible. Once you've done this then bring your ISO up gradually as a last resort. If you're really serious about night photography, you need the right lens'. I might actually do a blog post on this later so keep and eye out.  That's it for today guys, thanks for coming along for a little read of my blog.
:) |
AuthorHello! ArchivesCategories |

 RSS Feed
